


Making a cotton doll is a fun, creative, and rewarding handicraft project. Whether you're crafting for a child, a gift, or personal enjoyment, this step-by-step guide will walk you through the process of creating a simple yet adorable cotton doll from scratch. The materials are inexpensive, and the techniques are beginner-friendly.
Materials Needed
1. Fabric: Soft cotton fabric (light-colored for easy customization).
2. Stuffing: Polyester fiberfill or cotton batting for a soft, huggable texture.
3. Needle & Thread: Strong embroidery floss or sewing thread (matching the fabric color).
4. Scissors: Fabric scissors for clean cuts.
5. Pins & Marking Pen: For marking patterns and holding fabric in place.
6. Fabric Marker or Fabric Paint (optional): For adding facial features.
7. Ribbon or Yarn (optional): For hair or decorative accents.
8. Sewing Machine (optional): For faster stitching, but hand-sewing works well too.
Step 1: Designing the Doll
Before cutting fabric, decide on the doll’s size and shape. A basic doll can be around 6–10 inches tall. Sketch a simple template:
For beginners, a sewn-all-in-one method (head, arms, and legs attached to the body) is easier than sewing separate pieces.
Step 2: Cutting the Fabric
1. Fold the cotton fabric in half (right sides facing each other).
2. Place the template on the fabric and trace around it with a fabric marker or chalk.
3. Cut out two identical pieces (for front and back of the doll).
Step 3: Sewing the Doll
Option 1: Sewn-All-in-One (Simplest Method)
1. Pin the two fabric pieces together (right sides facing in).
2. Sew around the edges, leaving a small opening (about 2 inches) for turning and stuffing.
3. Turn the fabric right side out through the opening.
Option 2: Separate Limbs (More Detailed)
1. Sew the head and torso first, leaving an opening for stuffing.
2. Sew arms and legs separately, then stuff and attach them to the body before final sewing.
Step 4: Creating Facial Features
1. Eyes & Mouth: Use a fabric marker, embroidery floss, or fabric paint to draw simple features.
2. Alternative: Use small buttons for eyes (ensure they are securely sewn to prevent choking hazards for children).
Step 5: Stuffing the Doll
1. Turn the fabric right side out (if not already done).
2. Stuff the doll firmly using polyester fiberfill or cotton batting.
3. Close the opening by hand-sewing with a ladder stitch (nearly invisible).
Step 6: Adding Hair (Optional)
1. Yarn or Ribbon Hair: Cut strands of yarn or ribbon and glue or sew them to the top of the head.
2. Knitted or Crocheted Hair (Advanced): For more realistic hair, knit/crochet a small wig cap and attach it.
Step 7: Final Touches
1. Clothing: Sew a tiny dress, shirt, or diaper using leftover fabric.
2. Accessories: Add a tiny hat, bow, or blanket.
3. Safety Check: Ensure all seams are secure, and small parts (like buttons) are well-fastened.
-
Head & Body: A single oval or teardrop shape for the head and torso.
-
Limbs: Separate rectangles or ovals for arms and legs (or sew them attached to the body).
-
If making limbs separately, cut out small ovals or cylinders for arms and legs.
-
Leave extra space around the neck to define the head.
-
If sewing limbs separately, attach them now by sewing them between the front and back pieces.
-
For embroidered eyes, stitch two small French knots or straight stitches.
-
For a mouth, sew a tiny dashed line or use a fabric pen.
-
Start with the limbs, then the body, and finally the head.
-
Leave the opening un-stuffed for now.
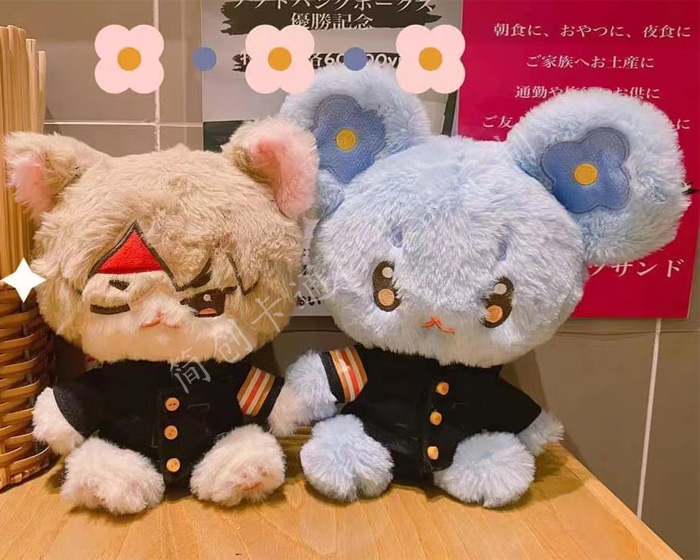
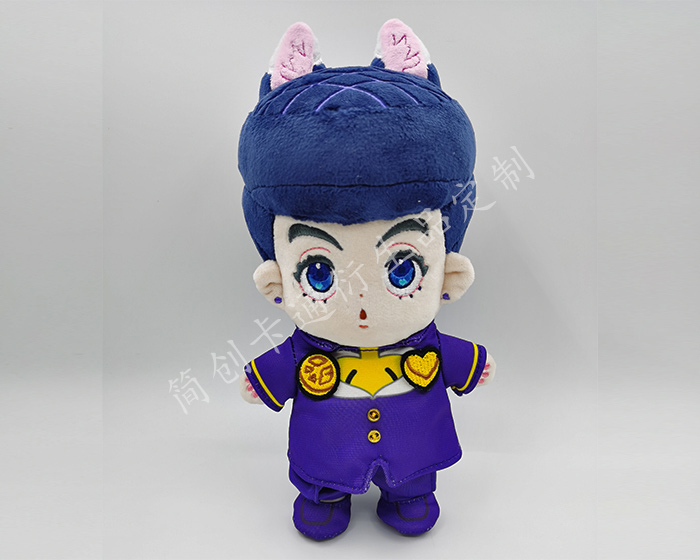
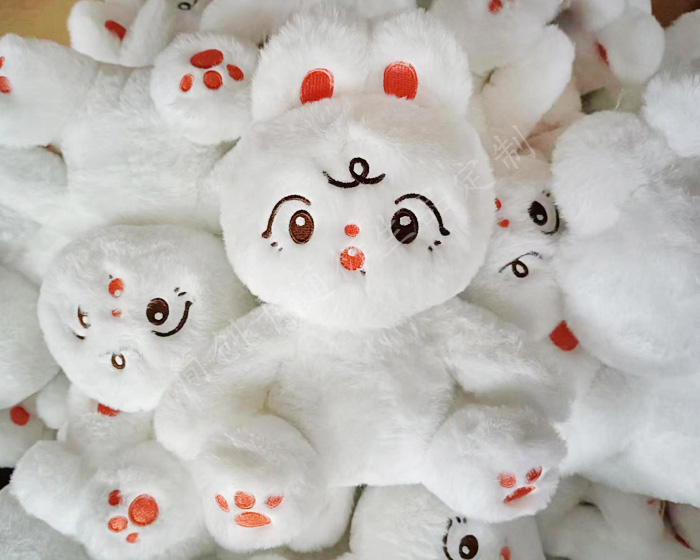
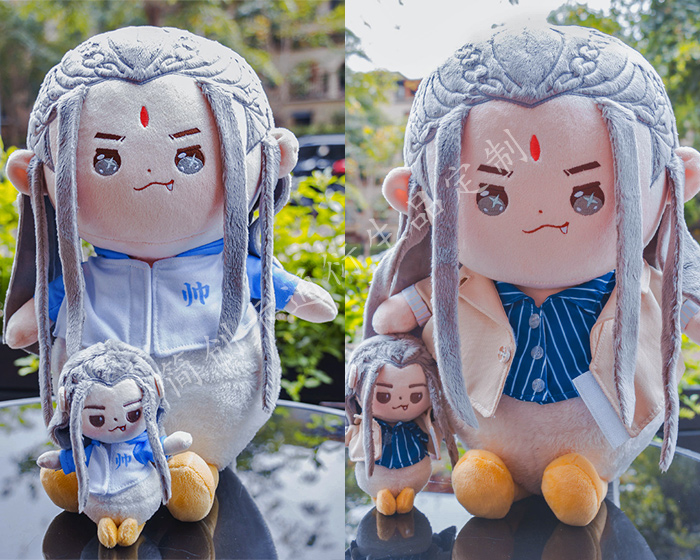
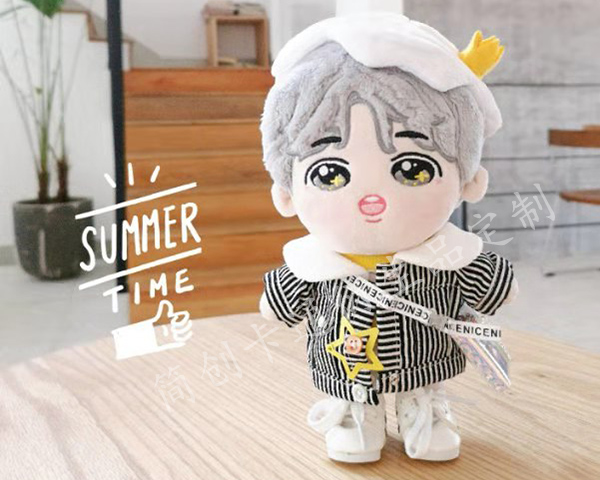
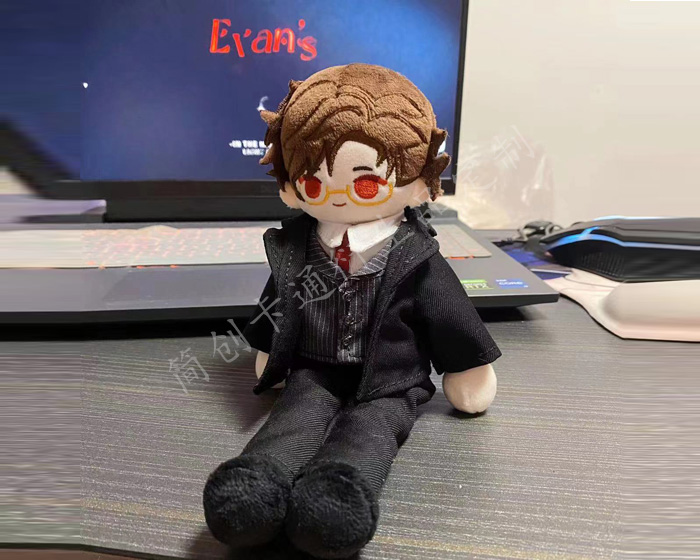
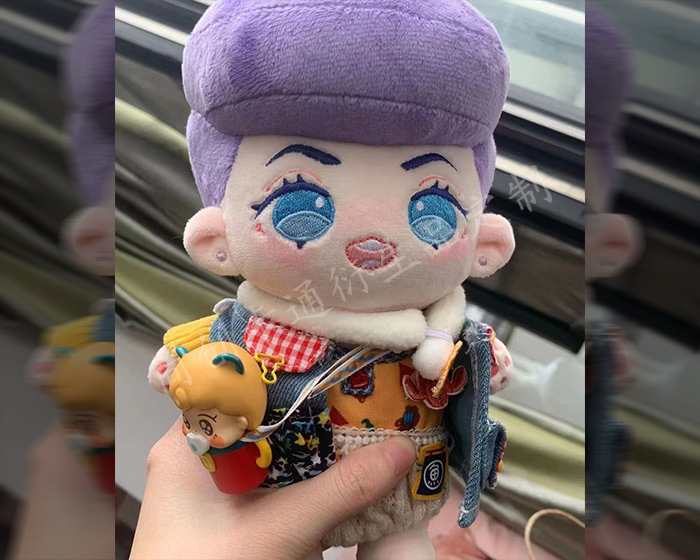
The following are some examples of plush toys that our factory customizes for customers. Check out if there is one that you like best.
-
Custom Animal Plush
-
Cute Plush Doll
-
Custom Stuffed Animals
-
Plush Toy
-
Plush Dolls
-
Custom Stuffed Dolls
-
Custom Plush Toy
-

Cotton Dolls
-

Weighted Plush Toys
-
Cute Stuffed Animals
-
Custom Pet Stuffed Animal
-
Warmies Stuffed Animals
-
Weighted Stuffed Animal
-
Soft Toys
-
Plush Stuffed Doll
-
Custom Stuffed Dolls
-
Plush Maker
-
Bear Stuffed Toy
-
Anime Plush
-
Custom Stuffed Animal
-
Anime Plush
-
Custom Plush Toy
-
Personalised Stuffed Animal
-
Plush Animal Toys
-
Custom Plush Makers
-
Custom Plushies
-
Toy Manufacturer
-
Rag Doll Making
-
Custom Toys
-
Dog Plush Toys
-
Custom Rag Doll
-
Stuffed Animals
-
Custom Plush
-
Custom Plush Dolls
-
20cm Cotton Doll
-
Jojo Plush
-
Custom Doll
-
Jojo Doll
-
Large Plush Toys
-
15cm Cotton Doll
-
Dumpling Plush
-
Cotton Doll