


Customizing a plush doll is a delightful and creative craft that allows you to produce a one-of-a-kind stuffed toy. Whether you're making it as a sentimental gift, a collectible item, a character replica, or even the first step toward starting your own plush toy business, learning how to custom plush doll offers endless opportunities for self-expression and creativity. This process combines elements of design, sewing, crafting, and personalization, resulting in a soft, huggable creation that carries meaning and charm. In this guide, we’ll walk through the main steps involved in creating your very own customized plush doll.
Step 1: Define Your Concept and Purpose
Before diving into the creation process, it’s essential to define what you want your plush doll to be. Ask yourself: What is the purpose of this doll? Is it a gift for a loved one, a representation of a favorite character, a mascot for a brand, or simply a toy for personal enjoyment? Understanding the doll’s role will help guide your design decisions. Consider who the doll is for and what kind of impression you want it to leave. You may choose to base the doll on a real person, an animal, a fictional figure, or create an entirely original character from your imagination. Having a clear concept from the beginning will streamline the entire customization process.
Step 2: Sketch and Design the Doll
Once you’ve established your concept, the next step is to create a visual design. Begin by sketching your idea on paper. Focus on the overall shape, facial features, limb proportions, and any unique characteristics you want the doll to have. Think about details such as hairstyle, clothing, accessories, and expressions. If you’re not confident in freehand drawing, you can use digital tools or design software to create a more precise template. Some people also use existing plush toy patterns and modify them to fit their custom design. The goal is to have a blueprint that includes all the individual parts—typically the head, body, arms, and legs—that you will eventually sew together.
Step 3: Choose Fabrics and Materials
Selecting the right materials is crucial for both the appearance and feel of your plush doll. The fabric will influence the texture, color, and softness of the finished toy. Popular choices include soft cotton, fleece, minky (a super-soft plush fabric), felt, and velvet. Each material has a different look and feel, so consider how it aligns with the character or style you’re aiming for. In addition to fabric, gather other essentials such as polyester fiberfill for stuffing, sewing thread, needles or a sewing machine, fabric scissors, and pins. For the doll’s face, you might use embroidery floss, fabric paint, or plastic safety eyes. Don’t forget any extra items for personalization, such as clothing, ribbons, or accessories.
Step 4: Create the Pattern and Cut the Fabric
If you’re not using a pre-made pattern, you’ll need to create one based on your design sketches. This involves drawing each part of the doll (head, body, limbs) on paper or directly on fabric, making sure to include seam allowances. Once your pattern is ready, trace it onto your chosen fabric and carefully cut out the pieces. It’s best to cut two pieces for each part (a front and a back) if you plan to sew them together completely. If you’re adding details like prints or specific textures, make sure those are positioned correctly during this step.
Step 5: Sew the Doll Together
With all your fabric pieces cut, begin sewing them together. You can use a sewing machine for faster results or sew by hand for more control and a handmade feel. Leave small openings—usually on the back or bottom—so you can turn the fabric right side out and add the stuffing later. As you sew, take care around curves and corners by clipping the fabric lightly without cutting the seams. This helps the fabric lay smoothly once turned. For facial features or other small details, you can either sew them before assembling the full doll or add them after.
Step 6: Stuff and Shape the Doll
After sewing, carefully turn each piece right side out using a turning tool or a chopstick to gently push out corners. Once all the parts are turned, stuff them firmly but evenly with polyester fiberfill. The amount of stuffing will affect the doll’s firmness and huggability—soft enough to be cuddly, but firm enough to hold its shape. Use a funnel or chopstick to help stuff smaller areas like arms and legs. Once all parts are stuffed, sew the openings closed by hand using an overcast or ladder stitch for an almost invisible seam.
Step 7: Add Facial Features and Personal Details
The face is the most expressive part of the plush doll. You can embroider the eyes and mouth with thread for a safe and durable option, especially for toys intended for children. Alternatively, you may use plastic safety eyes and noses, or draw features with fabric markers or fabric paint. Consider personalizing your doll further with details like embroidered names, clothing, bows, hair accessories, or themed outfits. These elements help tell the doll’s story and make it uniquely yours or tailored specifically to the recipient.
Step 8: Final Touches and Packaging
Before considering your plush doll complete, do a thorough quality check. Ensure all seams are secure, there are no loose threads, and the stuffing is evenly distributed. Trim any excess fabric or threads. If the doll is a gift, take time to package it nicely. Use a gift box, tissue paper, or a small pouch. You can also include a handwritten note or a “birth certificate” describing the doll’s name and story. Presentation adds a special touch and enhances the emotional value of your creation.
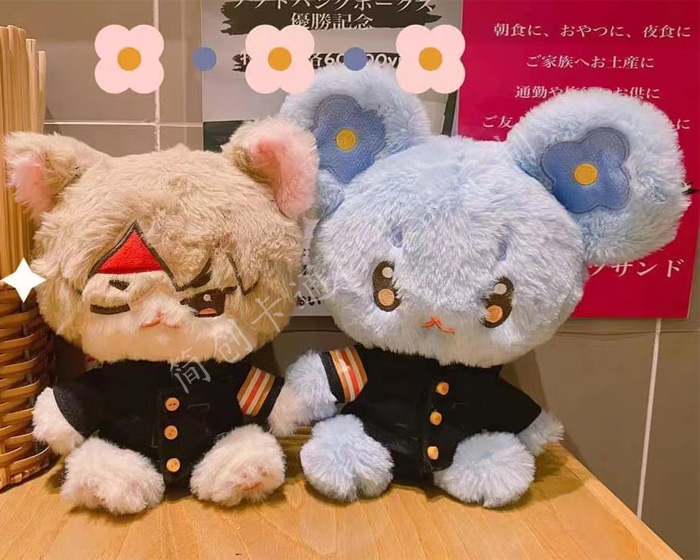
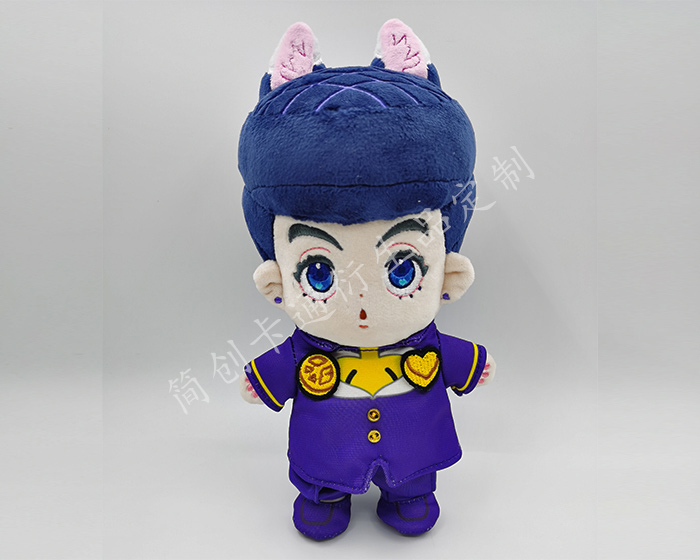
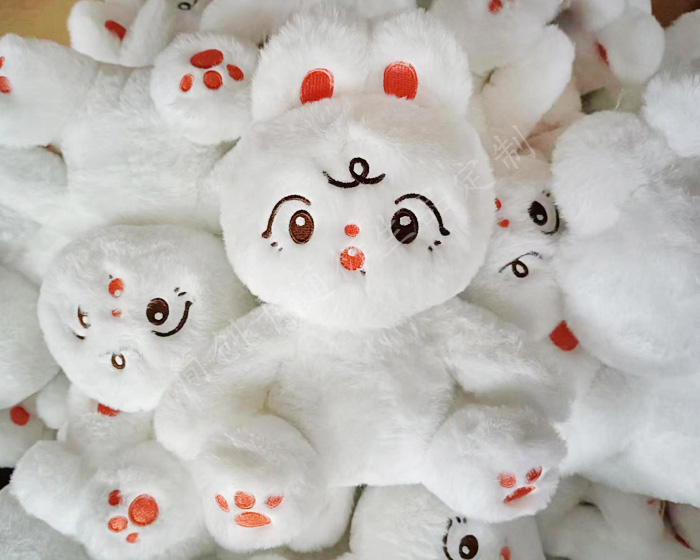
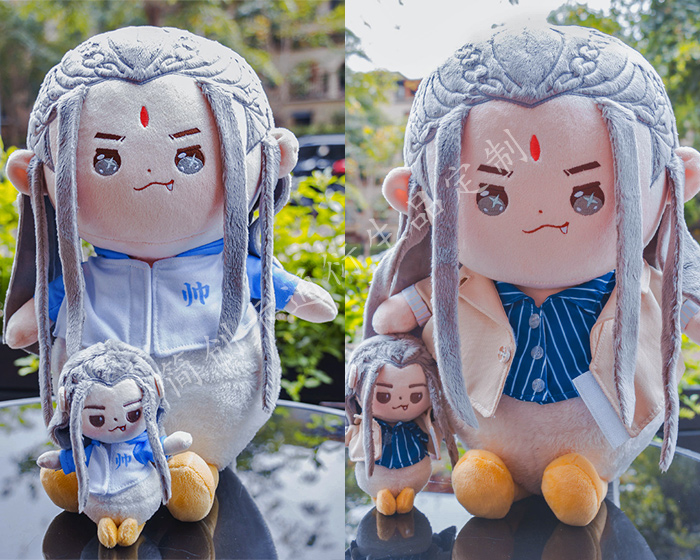
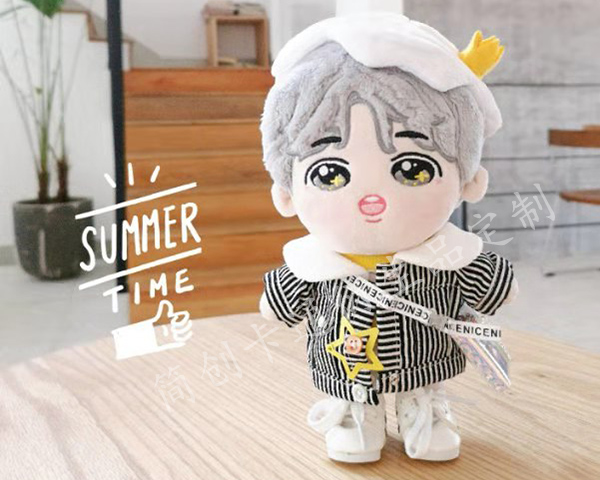
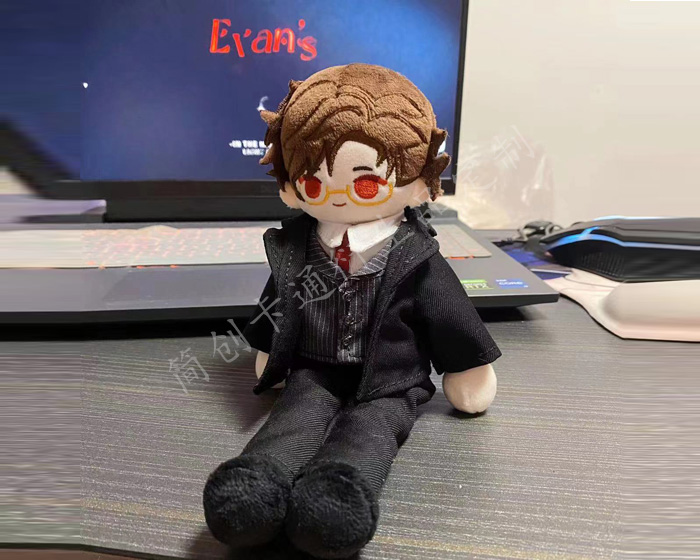
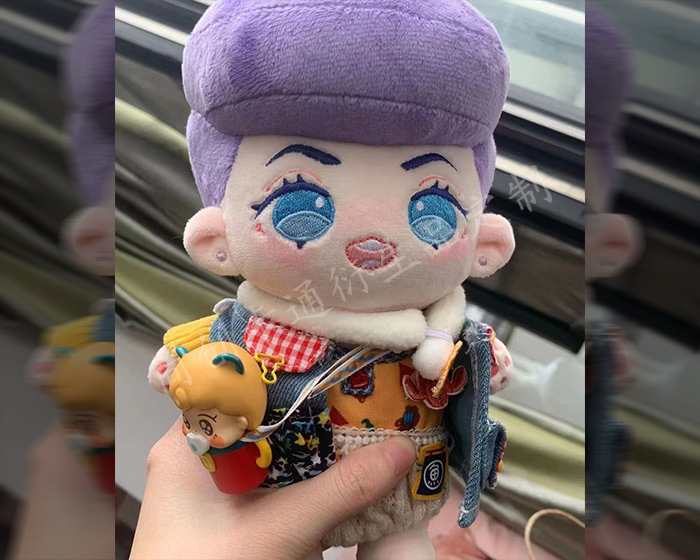
The following are some examples of plush toys that our factory customizes for customers. Check out if there is one that you like best.
-
Custom Animal Plush
-
Cute Plush Doll
-
Custom Stuffed Animals
-
Plush Toy
-
Plush Dolls
-
Custom Stuffed Dolls
-
Custom Plush Toy
-

Cotton Dolls
-

Weighted Plush Toys
-
Cute Stuffed Animals
-
Custom Pet Stuffed Animal
-
Warmies Stuffed Animals
-
Weighted Stuffed Animal
-
Soft Toys
-
Plush Stuffed Doll
-
Custom Stuffed Dolls
-
Plush Maker
-
Bear Stuffed Toy
-
Anime Plush
-
Custom Stuffed Animal
-
Anime Plush
-
Custom Plush Toy
-
Personalised Stuffed Animal
-
Plush Animal Toys
-
Custom Plush Makers
-
Custom Plushies
-
Toy Manufacturer
-
Rag Doll Making
-
Custom Toys
-
Dog Plush Toys
-
Custom Rag Doll
-
Stuffed Animals
-
Custom Plush
-
Custom Plush Dolls
-
20cm Cotton Doll
-
Jojo Plush
-
Custom Doll
-
Jojo Doll
-
Large Plush Toys
-
15cm Cotton Doll
-
Dumpling Plush
-
Cotton Doll